Making Your Z-Rig Work For You
So you’ve got yourself a Z-rig. Maybe Santa even brought you that tactical version you’ve been asking for. Now what? There are a lot of uses for a Z-rig, but let’s look at a few ways to make it easy to use.
We’ve all heard the mantra “work smarter not harder,” and that’s exactly what we’re going to do here. First of all, unless you’re in the gym skipping leg day, there’s a good chance your leg muscles are bigger than your arm muscles. It’s those large muscles we can use to tip the scales in our battle against gravity. Let’s take a look at a couple of smarter ways to ascend ropes. Just as a note, these come merely from my own experiences. These in no way represent the “best” or “only” way up a rope.
For short ascents, self-rescue, or if you may be carrying a few extra pounds (be it in your tool bags or around your gut), here are my recommendations:
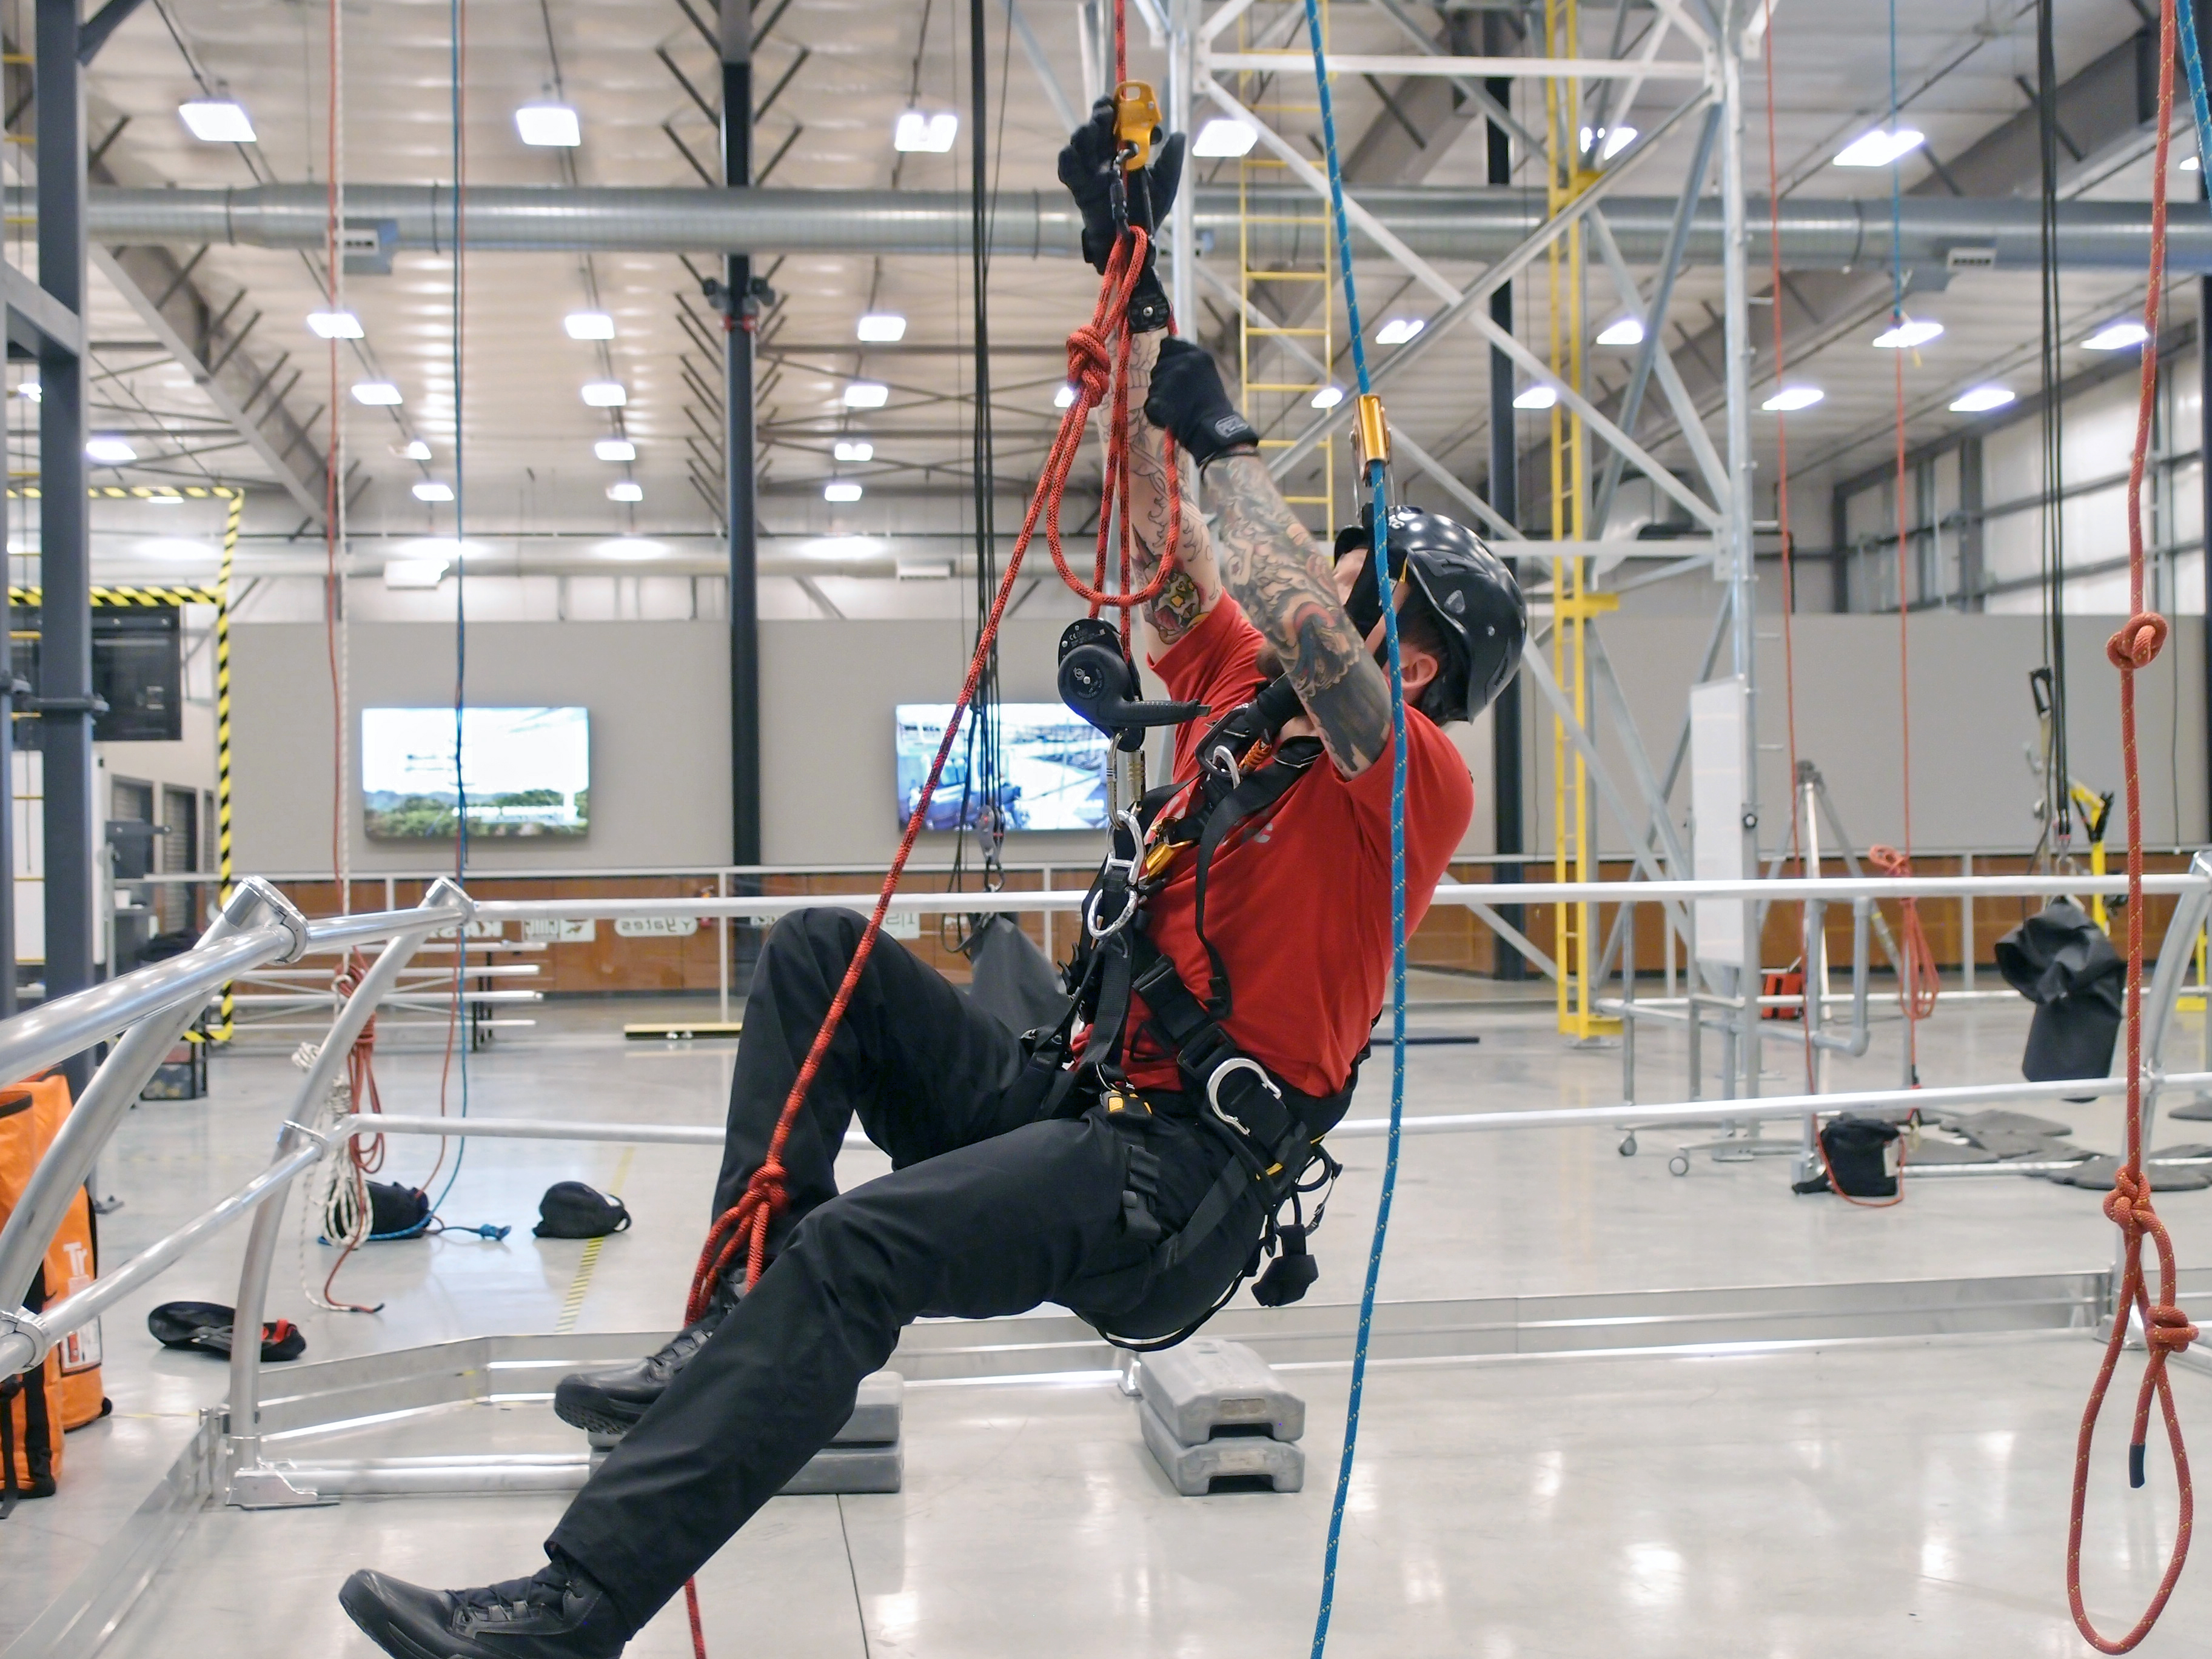
After attaching the Z-rig to the rope, create a bight in the rope after the pulley long enough to reach down to your foot. Raise your foot while taking the slack out of the bight. When your foot is as high as it will comfortably go, grab both ends of the bight and squeeze them together-this creates a temporary foot loop. Point your toe down (this will make it easier to stand, as well as help prevent your foot from kicking out in front of you) and stand into the loop. It helps to hold onto the rope grab with your free hand for balance while standing into the rope. Raise the rope grab and adjust the rope around your foot as necessary. Repeat until fully ascended.
For long ascents with the Z-rig attached to the rope, tie a figure 8 on a bight into the rope after the pulley and connect it into the carabiner of your Z-rig. This creates a “dead” line, or a section of rope that doesn’t move when you pull on it. Push the Z-rig up the rope to the full extension of your arm. Into that dead line you’re going to tie an alpine butterfly or inline 8 with a loop big enough to get your foot into. The trick here is getting this loop to fall at or near your knee so you can get your foot up and into it. The section of rope now acting as the foot loop is a fixed length and won’t need adjusting like the previous method. When you’re ready to ascend, point that toe down and stand into that leg. Simultaneously pull the rope through the pulley with one hand while keeping the other on the rope grab for balance. Remember to untie those knots before descending or you’ll get some unexpected self-rescue practice.
Like a hammer in your tool box, a Z-rig is a tool with many varieties and just as many applications; but simply swinging a hammer doesn’t make you a craftsman. A true craftsman knows how to make their tools work best for them and possesses the attention to detail to use them correctly every time. Perfect practice makes perfect, where as poor practice only makes permanent. If you’re new to the Z-rig, practice with these and see what you learn. If you’re a Z-rig veteran, let us know what you use and how you use it. We might even showcase it here.